

Homeowner Knowledge Base
Shrinkage and how to repair it
The short answer: small, stable cracks caused by normal drying can often be repaired with filler or decorators’ caulk once the home has had time to settle. Do not repair first if a crack is widening, repeatedly returning, unusually wide, associated with movement or damp, or may be covered by the developer or warranty. Photograph and report those concerns before decorating.
CheckSure’s Homeowner Knowledge Base draws on practical experience of building, inspecting and resolving defects in new homes. Our aim is to explain what homeowners should reasonably expect, what may require further investigation and what steps they can take next.
What shrinkage means in a new home
Plaster, timber, concrete, mortar and other materials contain moisture when a home is built. As the building is heated and ventilated, materials dry and may reduce slightly in size. Fine cracks can then appear in plaster or at junctions between different materials, particularly where a wall meets a ceiling, skirting board, architrave or window board.
This does not mean that every crack is harmless. Shrinkage cracks are usually fine, stable and limited to surface finishes. Cracks that are growing, stepped through masonry, accompanied by distortion, dampness or a hollow or loose finish need a different response. Read “Cracks in new-build homes” before deciding to fill anything.
Before you start
First decide whether the issue is a stable finishing crack or something that needs reporting. Photograph it, note the date and avoid decorating over a crack that is widening, damp or accompanied by other movement.
- Check the crack in good light and photograph it with a ruler or scale beside it.
- Look for signs that it is changing, recurring, damp, displaced or linked to a sticking door or window.
- Check your developer’s aftercare information and warranty terms. Developer thresholds vary, so do not rely on a width quoted by another builder.
- Allow the home to dry gradually. Use the ventilation provided and avoid excessive heating intended to force the process.
- If you plan to redecorate, test the paint colour and finish in an inconspicuous area.
Choose the right repair
Fine cracks in plaster
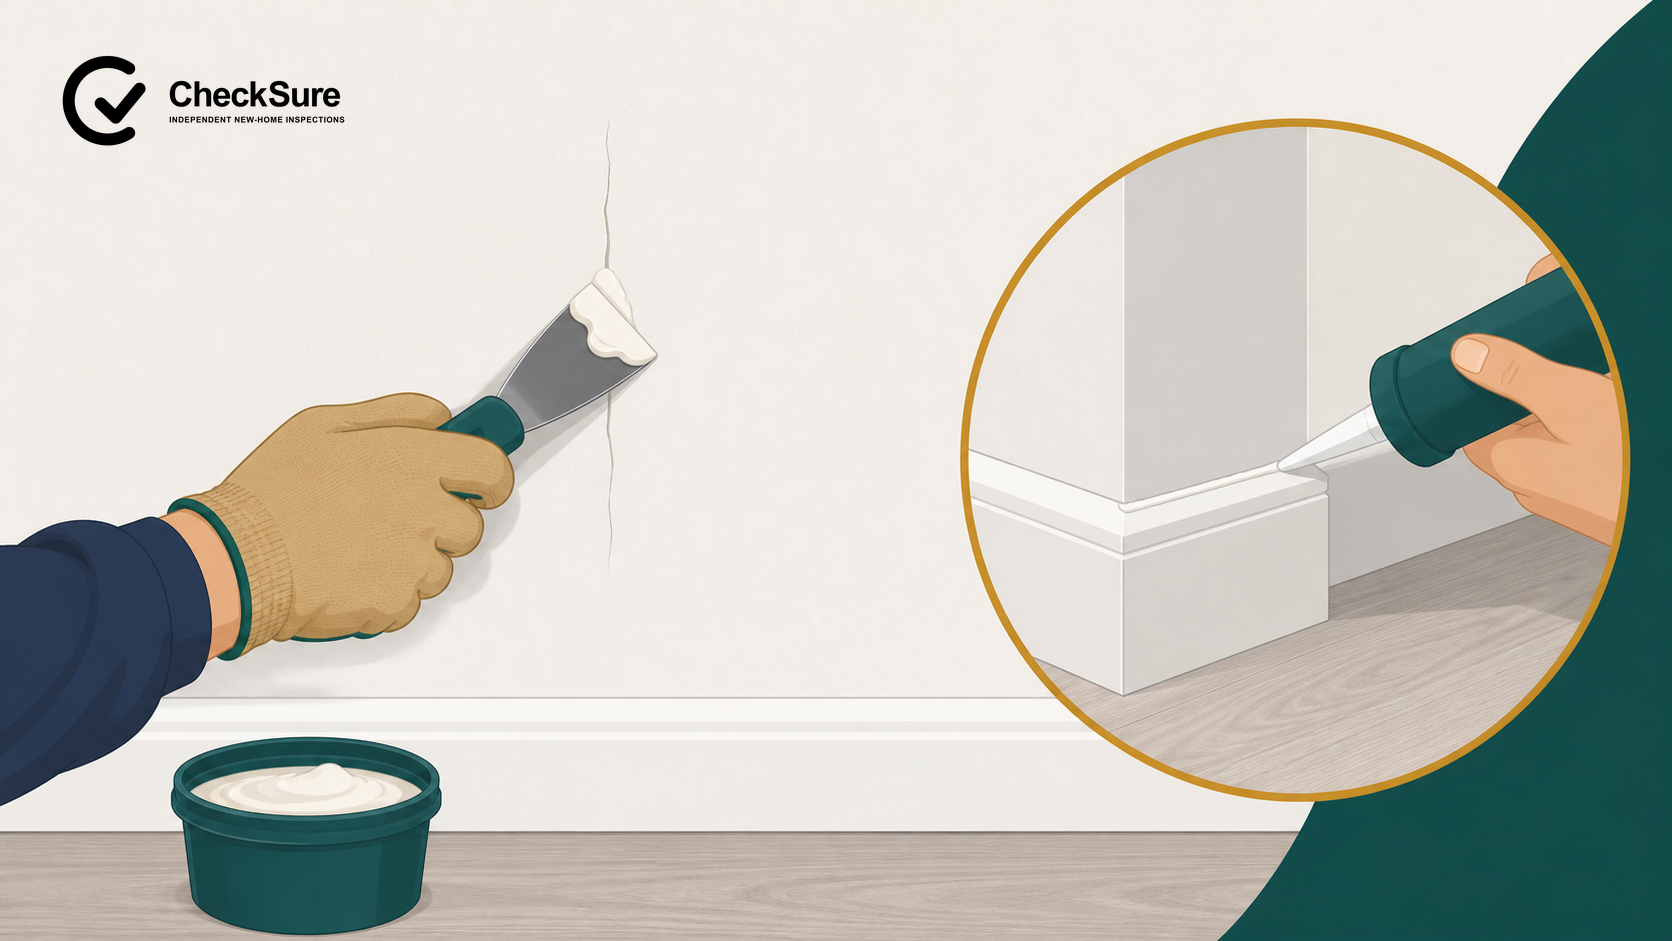
A fine, stable crack within a flat plastered surface is normally repaired with a suitable fine-surface or flexible filler. Read the product instructions because preparation, maximum depth, drying time and compatibility with paint differ.
Gaps beside skirting boards and door frames
A small gap where plaster meets painted timber often needs a paintable decorators’ caulk rather than a rigid filler. Caulk can accommodate a little movement at the junction. It is not a substitute for repairing loose woodwork, defective plaster or a large moving gap.
How to fill a small plaster crack
- Protect the floor and nearby fittings. Wear the protective equipment recommended for the filler and keep dust away from children and pets.
- Remove only loose paint or plaster. If the product instructions require the crack to be opened slightly, do this gently with a filling knife; do not chase deeply into plasterboard or disturb concealed services.
- Brush or vacuum away loose dust. Prepare the surface and filler exactly as the manufacturer directs.
- Press filler into the crack with a clean filling knife, removing excess and leaving the surface only slightly proud if sanding is required.
- Allow it to dry fully. Deep repairs may need more than one thin application.
- Sand lightly with a fine abrasive until level, control the dust and wipe the area as the product instructions recommend.
- Prime bare filler if required, then touch in with matching paint. A full wall coat may be needed where the existing finish has aged or the colour match is noticeable.
How to caulk a small junction gap
- Clean away loose material and make sure the adjoining surfaces are sound and dry.
- Cut the nozzle to produce a bead only slightly wider than the gap.
- Apply a steady bead of paintable decorators’ caulk, pushing it into the junction rather than leaving it on the surface.
- Smooth it with the tool or method recommended by the manufacturer and remove excess promptly.
- Allow the caulk to cure before painting.
When not to repair it yourself
- the crack is increasing in width or length;
- one side is displaced, bowed or loose;
- the crack is diagonal, stepped, repeated in several related locations or visible outside;
- there is dampness, staining, a leak or mould;
- doors or windows have begun to bind at the same time;
- the finish sounds hollow over a wider area or plasterboard joints appear defective; or
- you are unsure whether repair could affect a developer claim or warranty.
Record and report these signs to the developer while its defect liability or aftercare period applies. For urgent safety concerns or suspected structural movement, seek an appropriately qualified professional.
If the crack comes back
A repaired crack can reappear if drying or seasonal movement continues. A single fine recurrence does not prove a serious defect, but repeated failure deserves investigation before more filler is applied. Keep dated photographs and note changes in heating, weather or nearby leaks.
Key takeaways
- Confirm that a crack is small and stable before treating it as decoration.
- Use filler for suitable cracks within plaster and paintable caulk at small moving junctions.
- Follow the repair-product instructions and control sanding dust.
- Report changing, displaced, damp or recurring cracks instead of repeatedly covering them.
Explore further
Explore the CheckSure Homeowner Knowledge Base for related guidance on buying, inspecting and looking after a new home.
Related Knowledge Base articles
- Cracks in new-build homes: what is normal and when should you be concerned?
- Maintaining your new-build home: a practical homeowner schedule
- Floors in new-build homes: movement, noise and damaged finishes
- Condensation in new-build homes: causes, prevention and practical steps
Sources & References
NHBC — Cracking in your home. Homeowner guidance on shrinkage cracking, normal drying and when further investigation may be needed.
NHBC Standards 2026 — current technical standards relevant to plaster finishes, movement joints and workmanship. The applicable warranty edition and developer tolerances remain controlling.
Independent new-home inspections
Need help with your new home?
If you are approaching completion, have recently moved in or are dealing with unresolved concerns, CheckSure can help you choose the appropriate inspection for your stage.
Important information
The Knowledge Base provides general information for homeowners in the UK. It is not a substitute for advice about an individual property and should not be treated as legal, financial, insurance, structural or other specialist advice. Requirements and warranty terms can vary according to location, construction date, provider, contract and the circumstances of the particular home.
Copyright and permitted use. © 2026 CheckSure Ltd. All rights reserved. Website content may not be reproduced without permission, except as permitted by law. See our Content Use and Copyright Policy.